In this Articel you can find all the neccessary information for changing a battery on you power2max powermeter.
Table Of Contents
Changing the battery of your NGeco
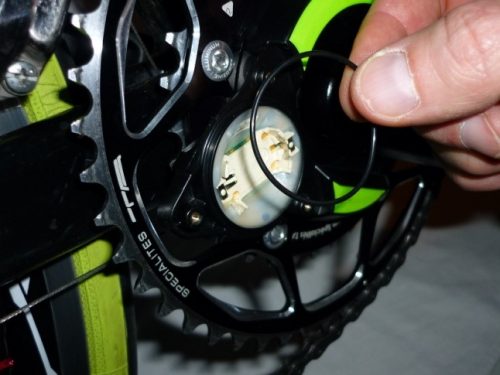
- Remove the rubber cap that seals the battery.
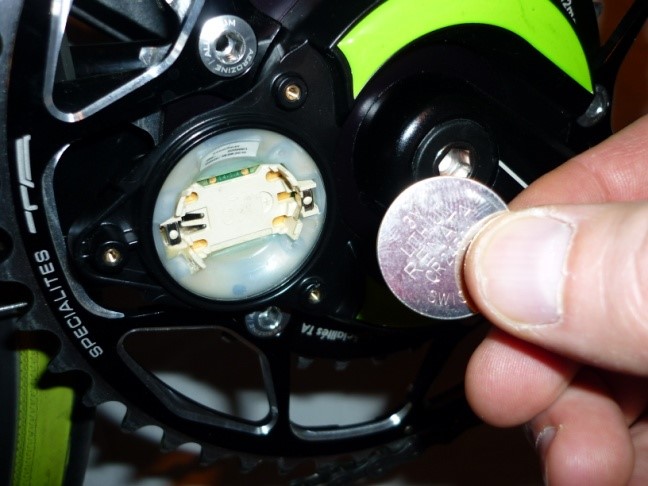
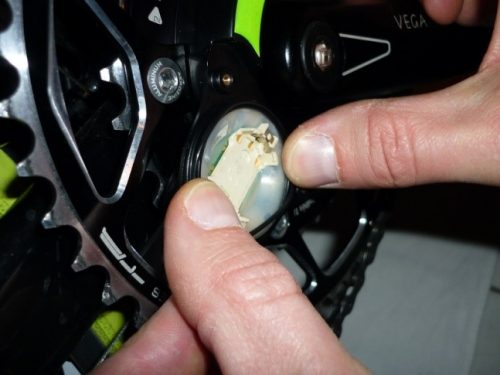
- Remove the empty battery.
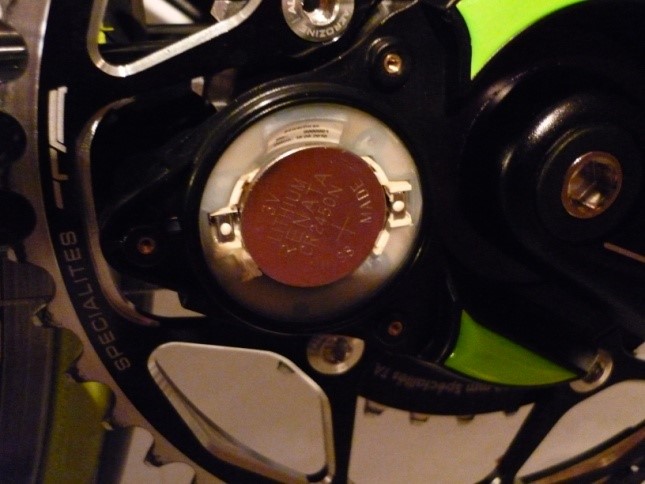
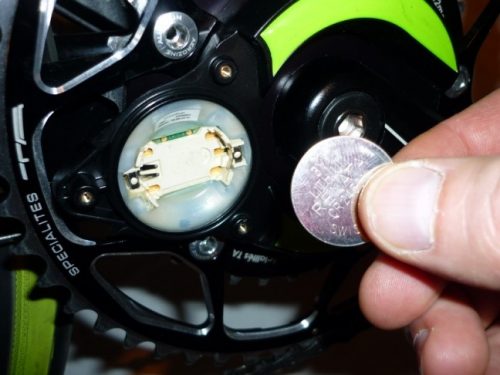
- Insert the new battery of Type CR2450. Please ensure the correct polarity.
- After inserting the battery, the green LED flashes for approximately 120 seconds. This signals the readiness for use.
Changing the battery of your TypeS
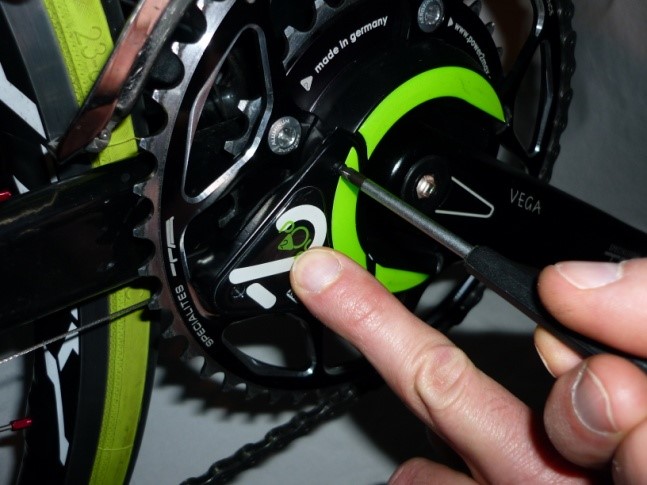
- Remove the rubber plugs that seal the battery screw holes.
- Open the battery compartment using a precision Philips screwdriver.
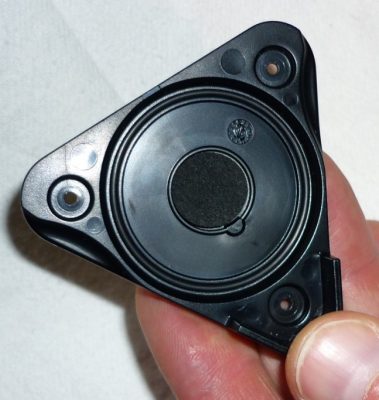
- Remove the battery cover and O-ring. The screws should not be removed.
- Insert the battery of Type CR2450. Please ensure the correct polarity.
- Put the battery cover back on and tighten the screws with 0,2NM. Only use two fingers to tighten the cover!
- Put the O-ring back on.
- After inserting the battery, the green LED flashes for approximately 20 seconds. This signals the readiness for use.
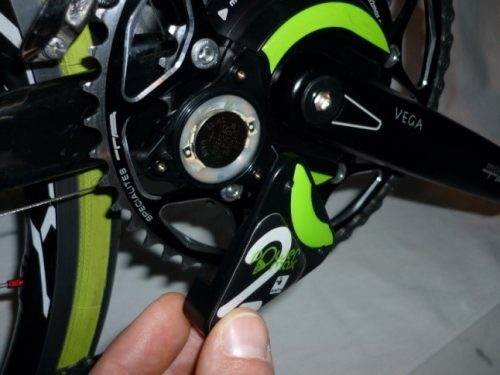
Changing the battery of your Classic
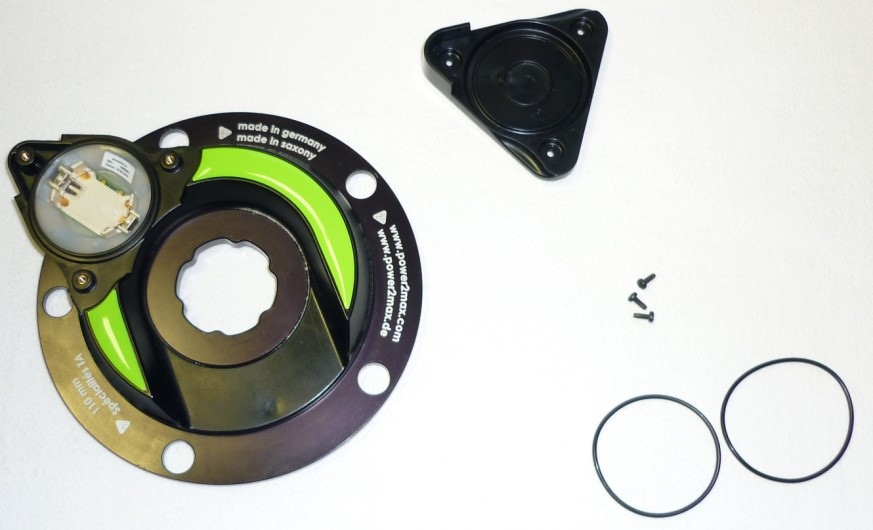
- If not yet done, open the battery compartment by loosening the three cross-head screws. Remove the battery cover and the two O-rings. Please pay attention that the two O-rings are of different diameter.
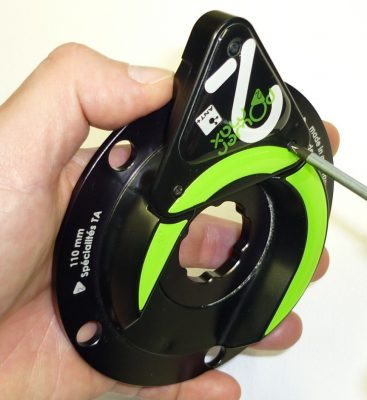

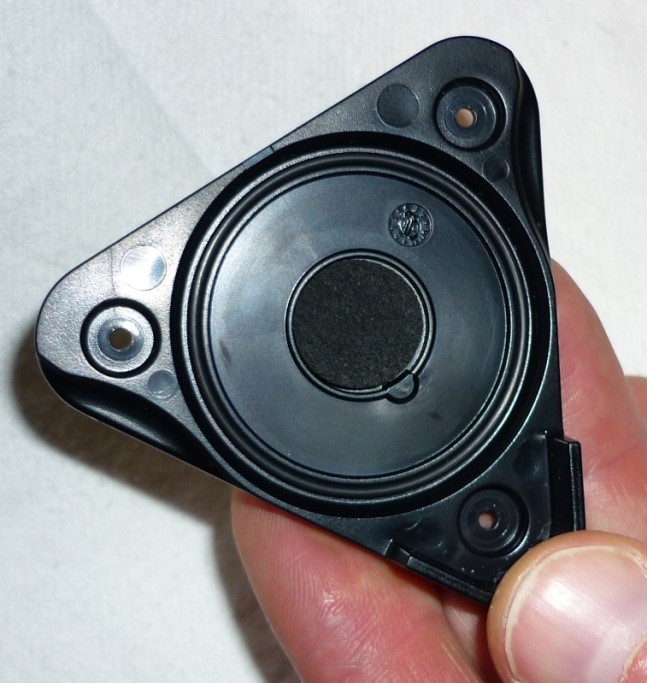
- Mount the O-rings. Insert the smaller one into the battery cover.
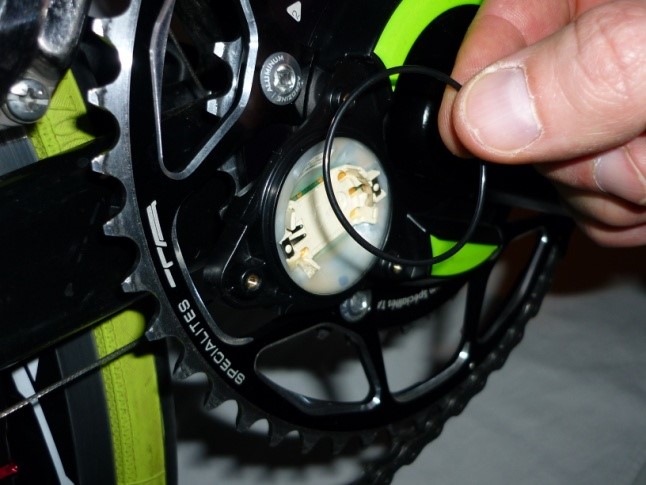
- Place the larger O-ring around the upper collar of the battery compartment as shown in the figures.
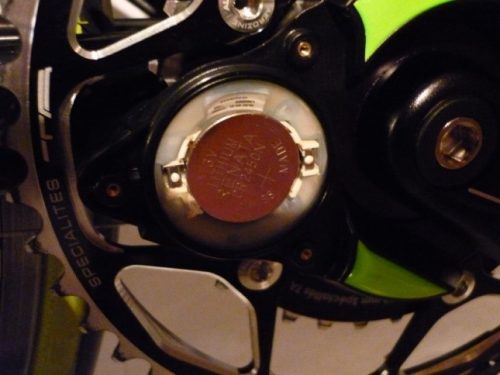
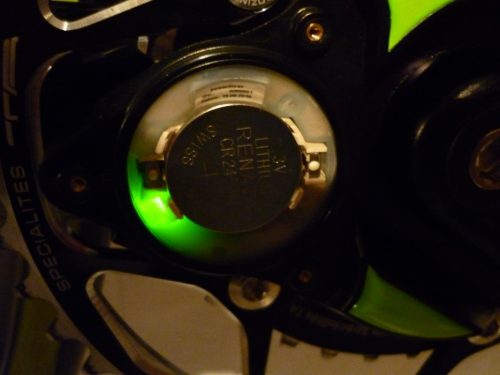
- Insert the supplied RENATA CR2450N battery. Pay attention to the correct polarity. The positive pole (face of battery) must be visible after the battery has been inserted.
- After the battery has been inserted, the powermeter signals readiness for service by a short flashing of the green LED for about 20 seconds.
- Close and screw the battery compartment again. Make sure everything is clean and the two
O-rings are seated correctly.